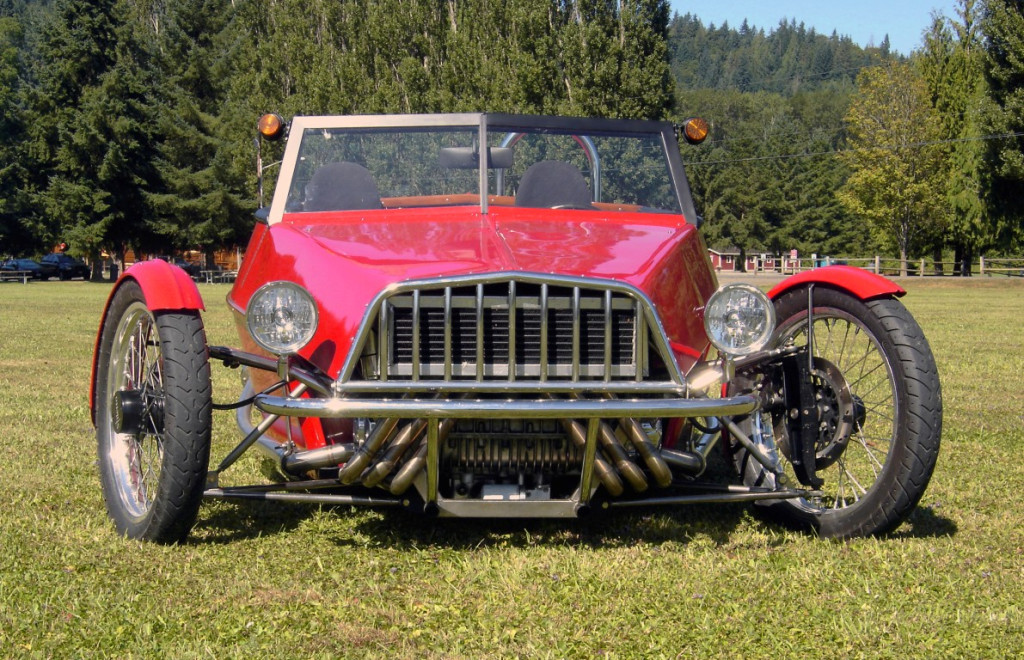
For many years I was intrigued by the concept of a three wheeled sports-car type vehicle because of its light weight and potential to use a motorcycle type of engine and transmission. I knew that turnover stability is always a consideration with a three wheeler, and after much time spent looking at the numerous designs that have been built, I concluded that the weight of the engine and transmission should be close to the two wheels, whether they are front or rear, and the center of gravity should be as low as possible. It also seemed clear to me that driveability and safety would both be optimized by having two wheels in front and the mass of the engine ahead of the driver. There have been a variety of configurations over the years, but I always thought that the basic layout of the Morgan was the right way to go, with two wheels in front, the engine well forward, and driving the single rear wheel. By the time I began to think seriously about this project in the 1970s and 80s, the Germans, Italians, and particularly the Japanese had begun to make some very nice motorcycle engine/transmission packages that were far superior to anything available when Morgan was building three wheelers.
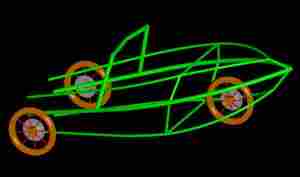
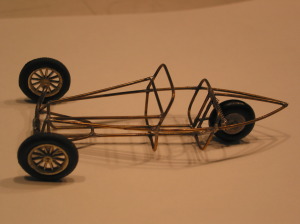
In 1981 I built a small wire frame model of the basic shape I had in mind. I read some of Carroll Smith’s books on suspension design and built a suspension model with variable length arms to work out the geometry. Of course the available books on this subject are explaining how to optimize the front versus rear roll stiffness to control the handling. With a three wheeler the roll stiffness is zero at one end. Two of the better current designs are the Grinnall and the T-Rex, but both have the engine and transmission behind the seats to simplify the drive train. The design closest to what I had in mind was the Malone, which is hand built in a small shop in Devon, west of London. I visited the Malones in 2004 and had a ride in one of their machines. I was very impressed with the exceptional performance, cornering ability and ride. I might well have bought a Malone right then and there, but it was just not big enough for a guy my size, and I did not want to think about stretching it because of the way the body was integrated into the frame.
http://www.malonecar.eclipse.co.uk/Home.html
I had already decided to use a pushrod front suspension, and the Malone convinced me I was on the right track if I could get the geometry right. I drew up my design on paper, then had a friend translate it into a computer model, primarily to facilitate measuring the radius of the various curved tubes in the chassis.
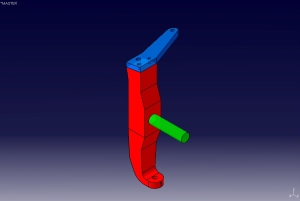
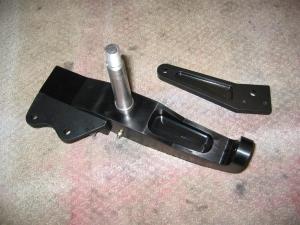
I designed the front suspension uprights, and my son Reid made a CATIA model of it which my machinist translated into the parts I needed, solid 7050 aluminum with 4340 steel axles.
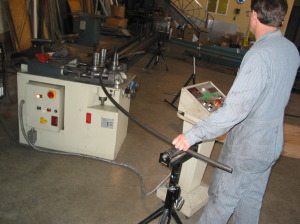
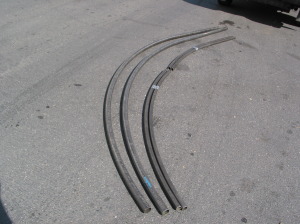
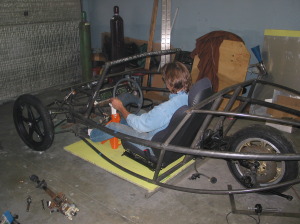
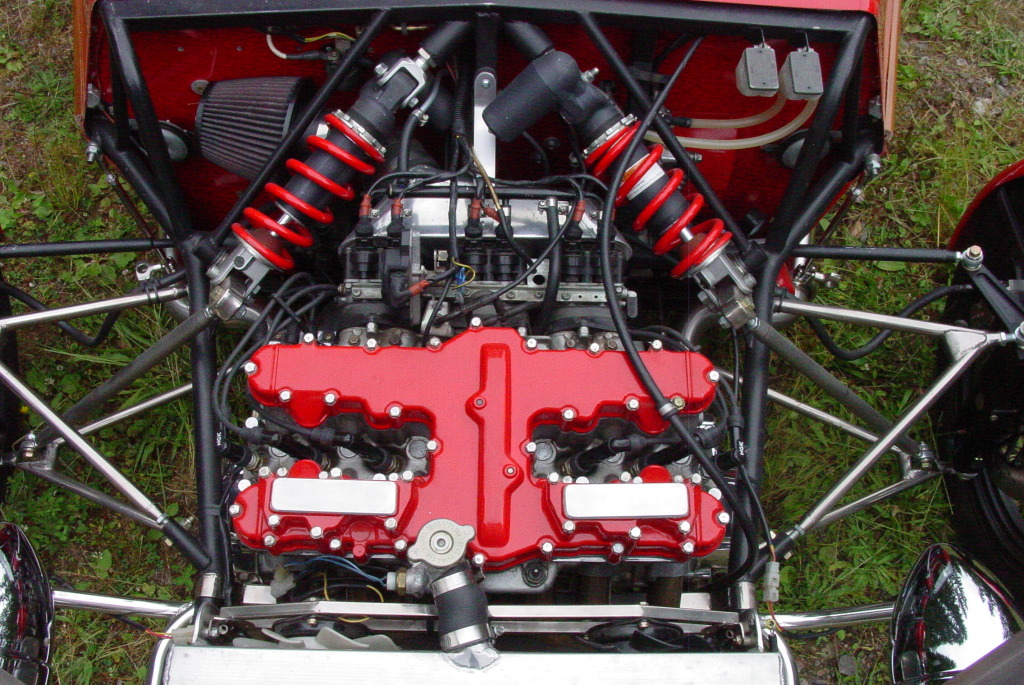
After thinking about this project for years and discussing the pros and cons of various engines, I decided to use a six cylinder Kawasaki 1300 motor, which has a five speed transmission and shaft drive. I purchased a low mileage (18,000 miles)Kawasaki Voyager from Bent Bike, the motorcycle salvage store north of Seattle. It ran well but had been sitting for some time and was in poor shape cosmetically. I had been doing some work with Sean O’Brien, who has many years experience building and modifying both cars and motorcycles and who is really good at building things out of tubing, from race car chassis to roll cages. My design was partly influenced by my belief that the crashworthiness of the existing designs was compromised for the sake of light weight. With this big motor, having 130 hp and good torque, I wanted a very substantial frame with plenty of width for elbow room and some crush space at the sides and rear in case of impact. We decided on 2 inch main tubes and 1.25 inch upper and lower tubes. All of the structure is 4130 chrome moly tubing. With this big, heavy engine at the front, we decided the windshield frame should be the main rollover structure. I laid out the radius and lengths of the various tubes on a sheet of plywood and took the tubing to Metallistics in Everett, where Mark, one of the owners, rolled the parts to match my patterns to perfection. http://www.metalistics.com/Rolling.html
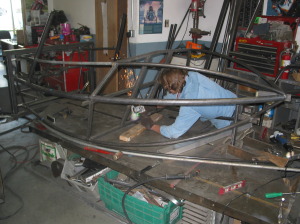
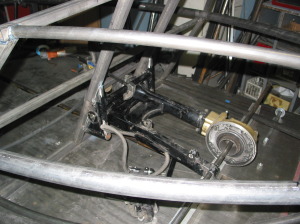
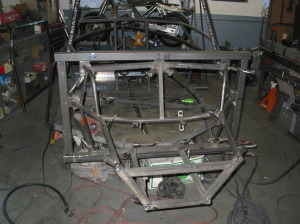
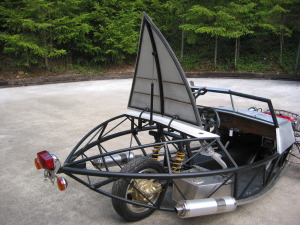
I had designed the chassis to be built in two parts, bolted together at the firewall. I built a fixture which would ensure they fit properly together. Sean started by building the main body/chassis stucture on a chassis bench. The rear swing arm bearing supports were cut from the Kawasaki frame and welded in as shown here, so that we used the complete rear suspension from the Kawasaki except for the coilover shocks. An additional brake caliper was added to the rear, one for the handbrake and one working with the foot brakes.
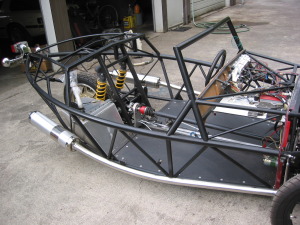
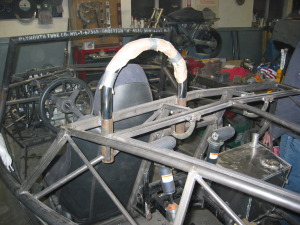
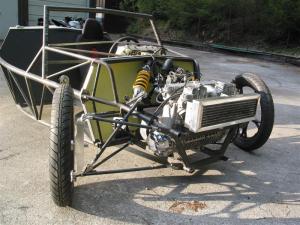
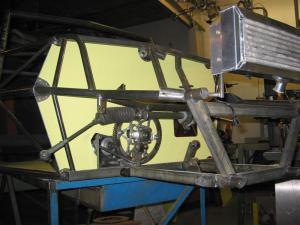
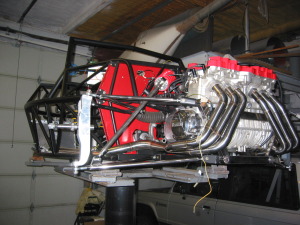
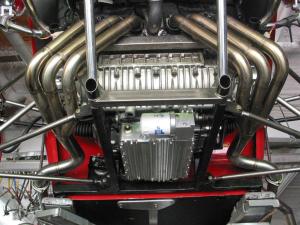
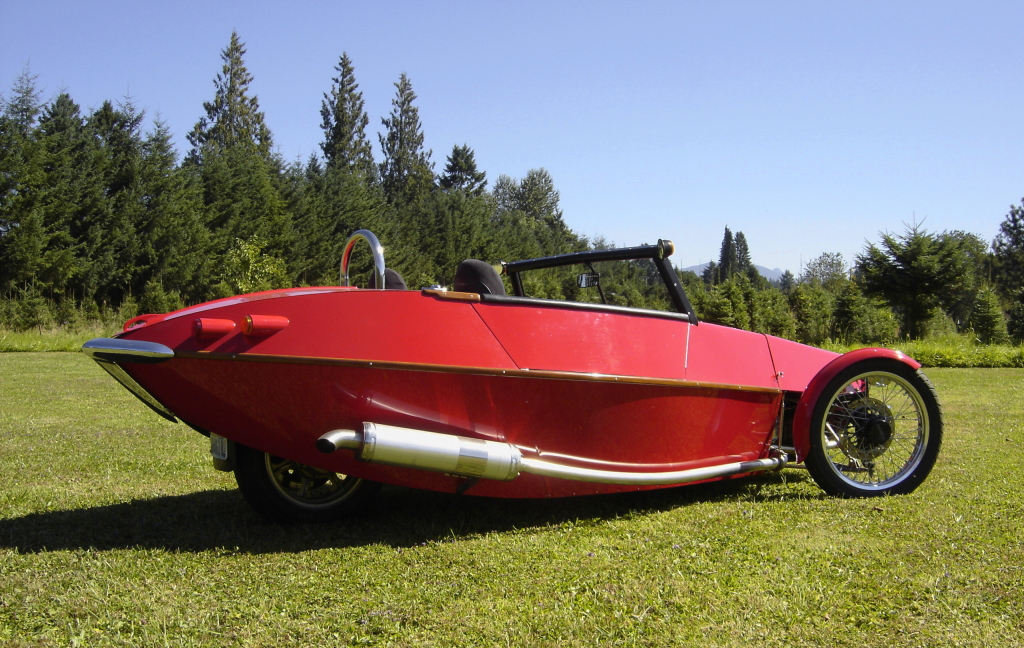
The front subframe carried the engine/trans and upper and lower A-frames, which were hand built with Heim joints for full adjustability. Sean also built a stainless exhaust system, three-into-one on each side. The very wide engine made the location of the front coilovers difficult, and the arrangement shown here with the upper attachment at the center of the firewall was really the only practical option. The additional rollover protection for the driver is a stainless tube. The floor is 3/4 inch aluminum honeycomb.
I bought some almost new coilover rear shocks on ebay – four identical ones, from 2004 Suzuki GSXR sport bikes, one each side for the front and two on the rear swing arm. We measured the spring rate and total travel and adjusted our geometry to get the travel and rising rate we wanted. The alloy wheels are from an early 80s Suzuki, chosen because they had a meaty hub we could machine for the bearings we are using on the front axles. We made the radiator from a Mazda RX-7 oil cooler – less frontal area than the original Kawasaki radiator, but twice the thickness. We have driven it in 100 degree plus weather and it cools just fine. Our machinist made an aluminum hub for a Honda automotive ring gear, which mounts at the front of the driveshaft. This is engaged by a Honda starter for reverse. This can only be activated when the transmission is in neutral. The steering rack is from a Geo Metro – small, light and about the right length.
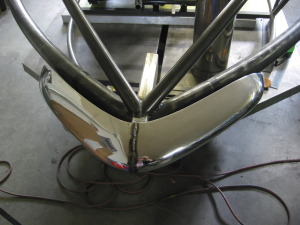
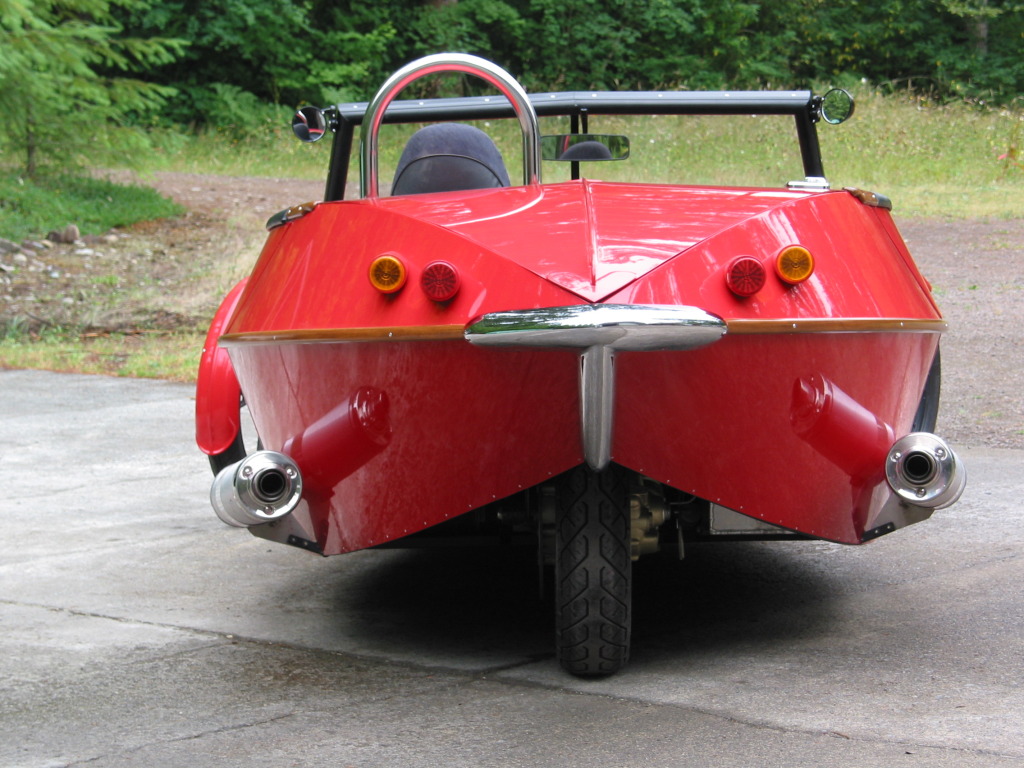
The aluminum fuel tank holds about 7 gallons. I modified the fuel level sensor so that it reads perfectly from full to empty on the Kawasaki instrument panel. The fuel filler cap is also from the Kawasaki fuel tank. The rear bumper was fabricated from an early Fiat 124 rear bumper. The rear deck lid is a chrome moly frame with bonded and riveted aluminum skin and an RX-7 hatch strut. The mufflers are 2005 vintage Suzuki GSXR 1000. They were each sized for 160 hp, and I have two of them with 130 hp – it is pretty quiet until you really get the revs up at full throttle.
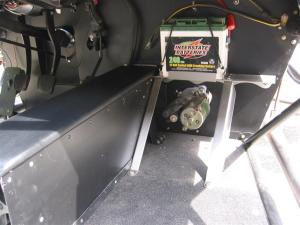
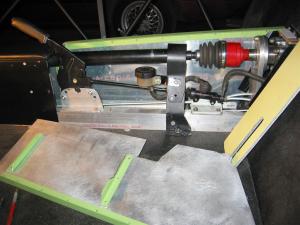
The batttery is mounted on top of the passenger foot rest, and below is the Honda starter for the reverse. On the far side is the driver foot rest with a trigger switch for the reverse – active only when in neutral and when armed by a switch on the instrument panel. The RX-7 handbrake lever operates the original Kawasaki foot brake master cylinder. The driveshaft uses a small automotive CV joint, and a custom machined bearing support as shown. This is the only part of this vehicle that caused us any real problems – it just was not robust enough. We had some vibration problems, so we redesigned it with two tapered roller bearings and better support to the chassis, and have had no further problems.
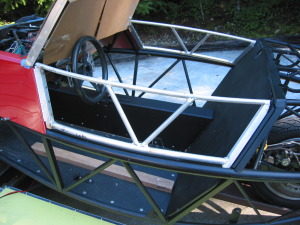
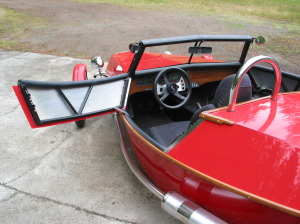
This photos shows the mechanicals pretty well complete before I started fabricating the body panels. The door frames are aluminum, had to be welded together in place to assure they would fit.
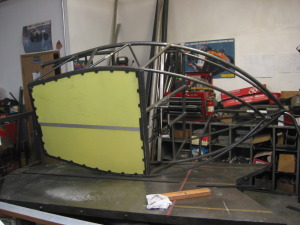
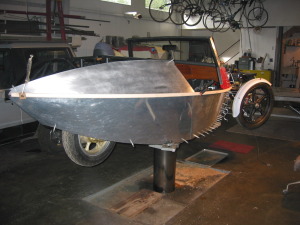
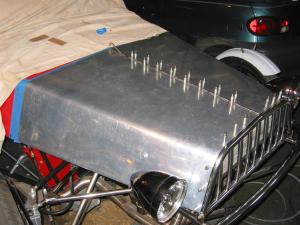
The upper side panes ahead of and behind the doors were bonded and riveted to the chassis, and were painted in place. All the other body panels were finished and painted, then riveted in place. I fabricated a piece of wood trim, maple with teak stain to match the dash, which covers the rivets. The hood is aluminum with a steel center piece and bolted to the stainless steel grille frame.
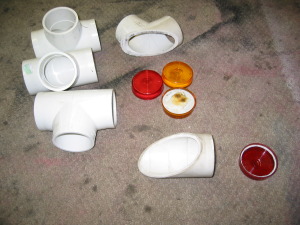
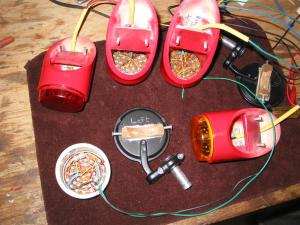
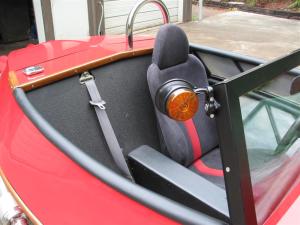
The tail light housings were made from 2 inch PVC pipe fittings with lenses from some inexpensive marker lights. I fabricated the tail/brake and turn signal lights with 44 LEDs each, and they are pretty bright, show up well even on sunny days. The front turn lights are mounted to the front of the bar-end style rear view mirrors.
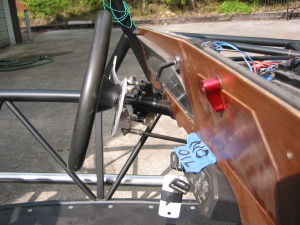
The paddle shifter is mounted on a pair of Heim joints, and the pushrod is a straight shot down to a bracket welded to the original foot shifter – very simple and it works perfectly. The wiring and electronic modules are accessible by opening a couple of panels ahead of the windshield.
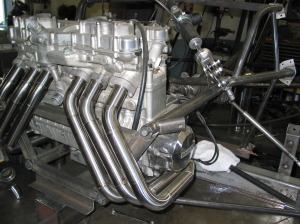
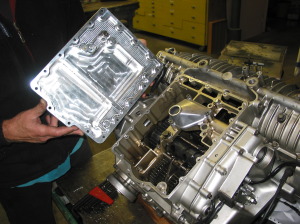
The engine/transmission assembly weighs about 300 pounds – really heavy duty for a motorcycle. I wanted to get this weight as low as possible, so we decided to shorten the oil pan, which was quite deep. I had a very large piece of 7050 aluminum alloy, acquired a few years ago from Boeing surplus, not because I needed it but because it was cheap. My machinist, Tom Chamlee, designed and built this amazing billet oil pan, which is 2 inches shorter than the original, and that allowed us to lower the engine two inches. I actually designed the little filter block on the front of the pan, which allows easy access to change the oil and filter without jacking up the vehicle. Sean’s exhaust header and Tom’s oil pan are both works of automotive art.
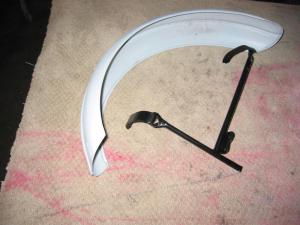
The aluminum fenders were made by Auto-cycle in England, and were covered with dust in the attic at Bent Bike when I started this project. They told me to take them because “This is the last pair we have – when you need them they will be long gone.” I made the fender braces from some tubing that I cut from an old bicycle frame. They are very light and rigid, and have no noticeable vibration when driving.
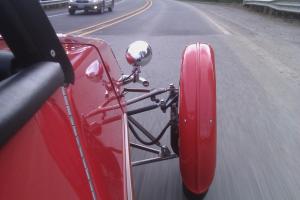
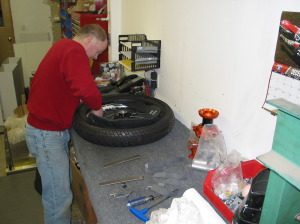
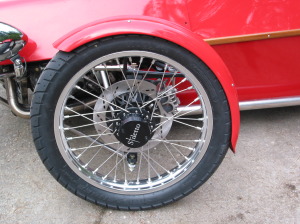
One day Sean mentioned that in the 1980s when these alloy wheels were made, Suzuki was selling a lot of motorcycles with wire wheels, and that the bearings and brake discs were probably the same. So we went to Bent Bike and came home with three old wire wheels (I always like to have a spare). We junked the rims and spokes, had our machinist bore out the hubs for the bearings we use, got them anodized black and took two of them to Gary at Pro Wheel. He got the 19 inch rims and stainless spokes we wanted and built these beautful wheels. I also got a couple of extra brake discs and had them surfaced, so I have spare wheels that can be easily swapped. http://www.prowheelracing.com/


