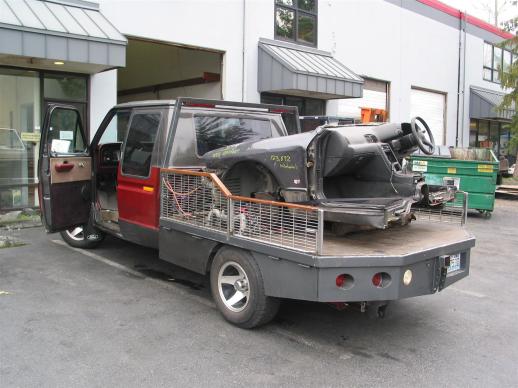
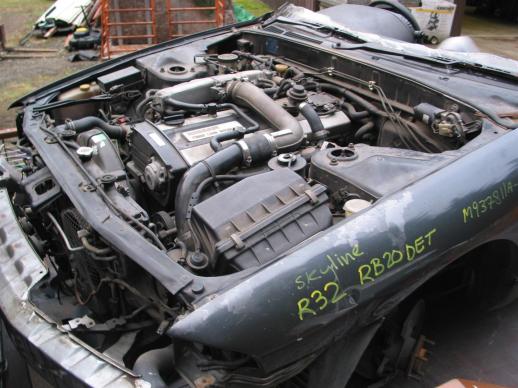
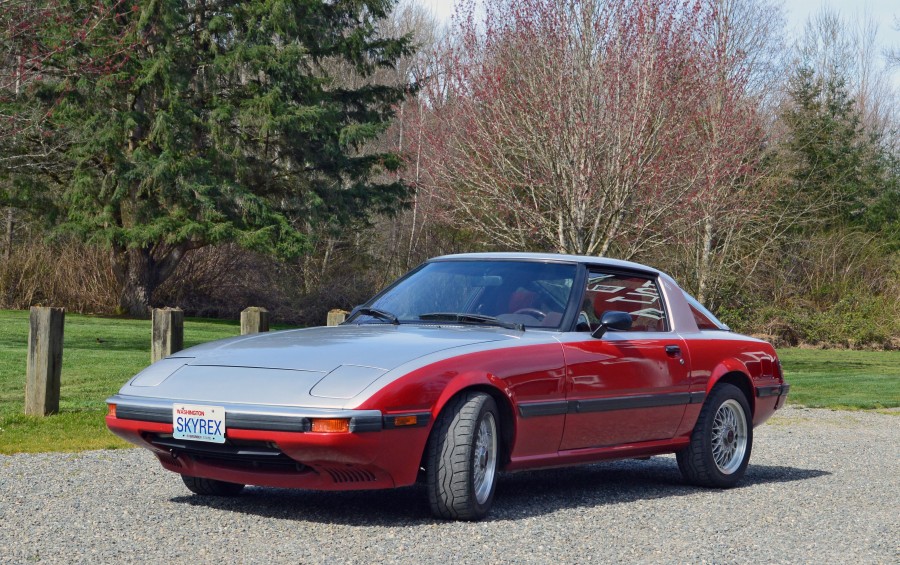
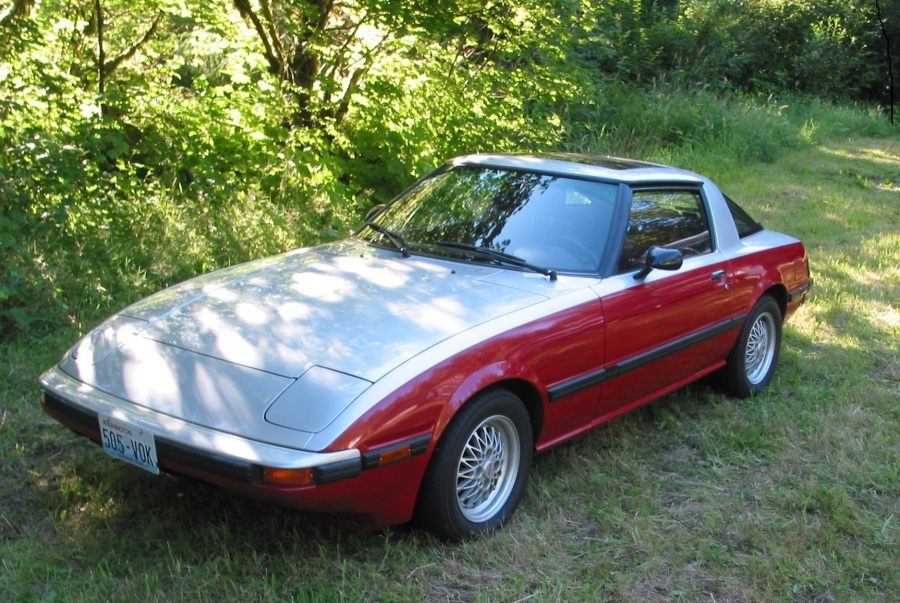
 I acquired this 1984 RX-7 GSL in 1997 with a dead motor and minor body damage, but with a very nice interior. I built a ported 12a motor and painted it with this red and silver paint scheme, lacquer with a lacquer clearcoat. After 15 years it still looks pretty good. In early 2012 I bought a Skyline R32 front clip from the good people at Foreign Engines, Inc in Lynnwood, north of Seattle. It had the RB20DET motor and a 5 speed trans. For those not familiar, the translation is Nissan straight six RB series motor, 2.0 liters, Dual overhead cams, Electronic fuel injection, Turbocharged. The engine is rated at 212-215 horsepower, depending on which reference you read. My friend Sean O’Brien did most of the work on this conversion, and I insisted on using the stock Skyline parts as much as possible. We actually hooked up a fuel pump and started the engine while it was still in the front clip – it started instantly, ran and idled smoothly, warmed up and everything worked. I was not happy with the cluttered look of the Skyline engine compartment, and told Sean I wanted to clean it up even if it took some extra work. I think when these cars were built, Nissan just did not care what they looked like under the hood.
https://www.youtube.com/watch?v=6d6e6gP2oAM
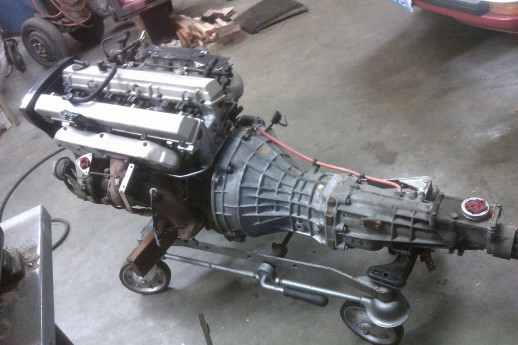
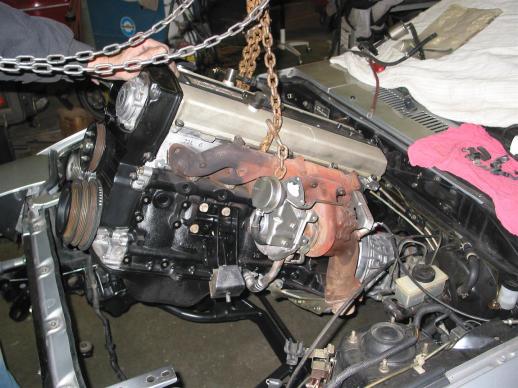
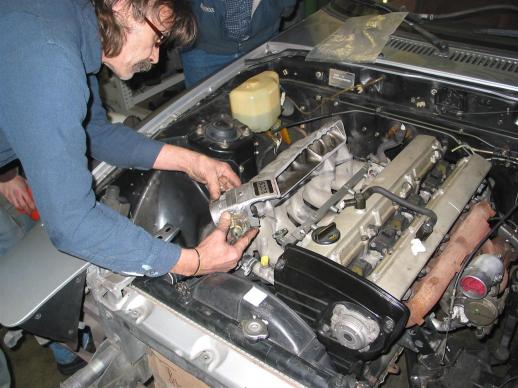
We pulled out the rotary engine, trans and driveshaft, took some measurements and it was obvious the oil pan would not fit. I said “modify the structure, not the engine”. Sean, never one to be shy, took a torch and cut out the center of the crossmember and dropped the Skyline engine and trans in place. With the shifter in exactly the location of the original, the cylinder head had about one inch clearance from the firewall.
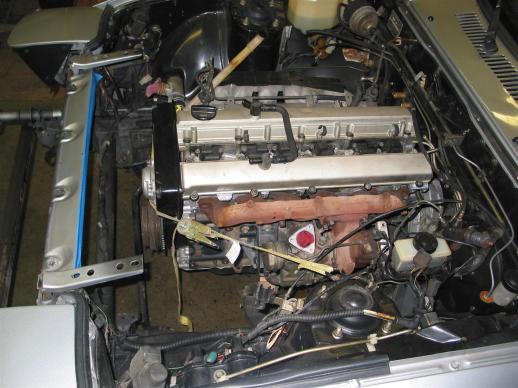
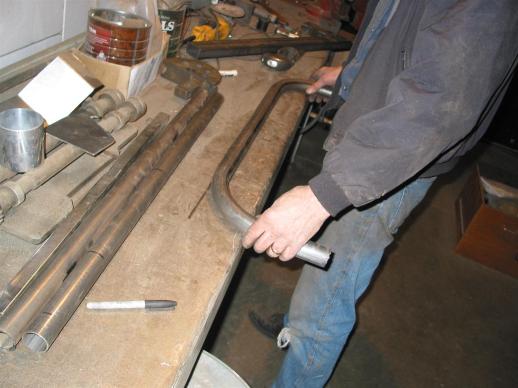
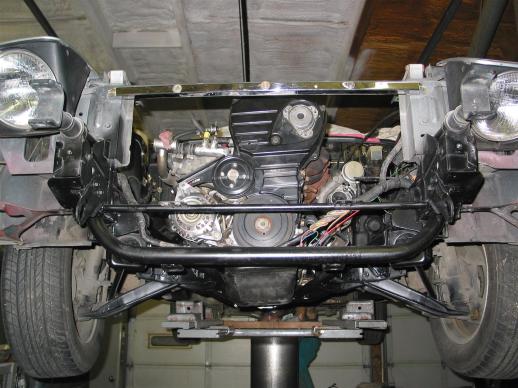
The original front crossmember is a round tube, seen in the photo with a wire bundle attached. This was in the location where the radiator was going, so we cut it out and Sean made a dropped tube further forward, with mounts for the radiator. We trimmed about 1 inch from the top header piece for radiator clearance. The engine normally tilts to the left – we reduced the tilt slightly to get clearance from the turbo to the steering box.
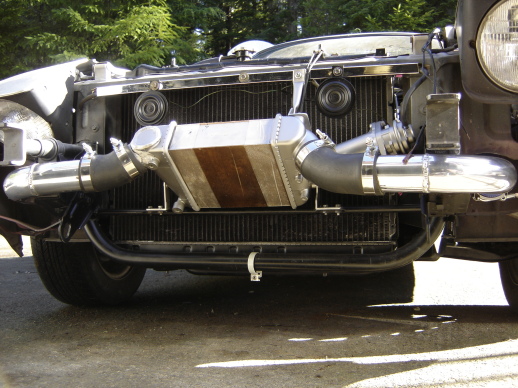
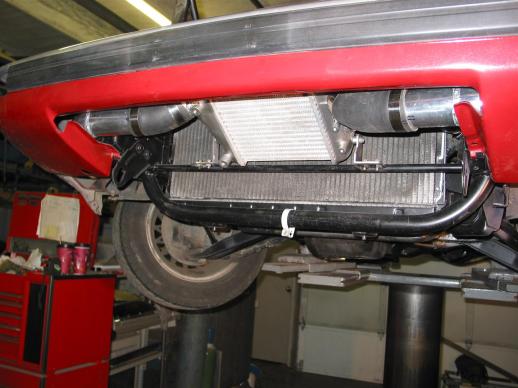
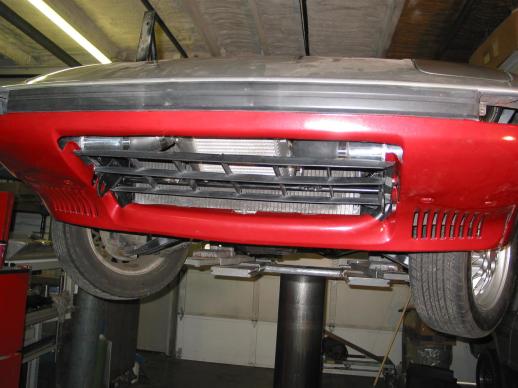
The left motor mount dropped into place by just slotting the hole in the Mazda mount pad. The right mount had to be modified. With the engine mounted, we just welded in some bracing around the oil pan, as shown in the final install photo. The Skyline intercooler was mounted below the left headlight and could not have had very good airflow. We mounted it front and center, and Sean welded the blowoff valve to the inlet side of the intercooler.
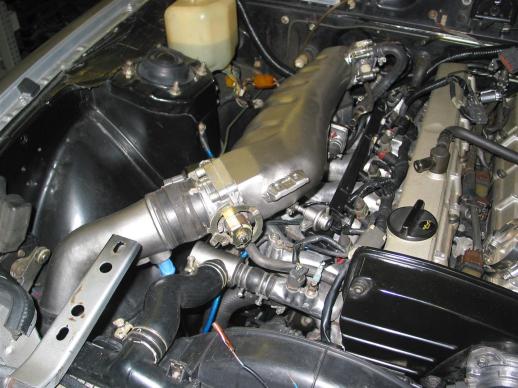
Sean modified the intake plenum and relocated the throttle body to line up with the intercooler outlet tubing.
I had to do some trimming and heat forming to make the lower valance fit around the lower chassis tube. Not much extra room, but everything fits.
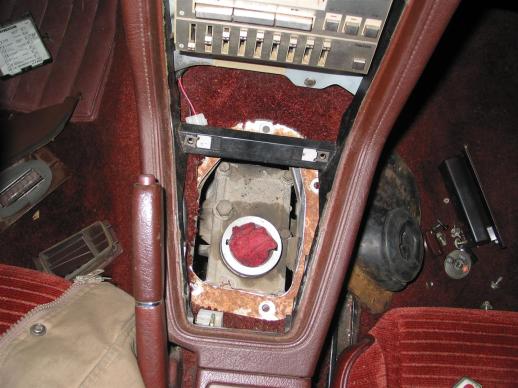
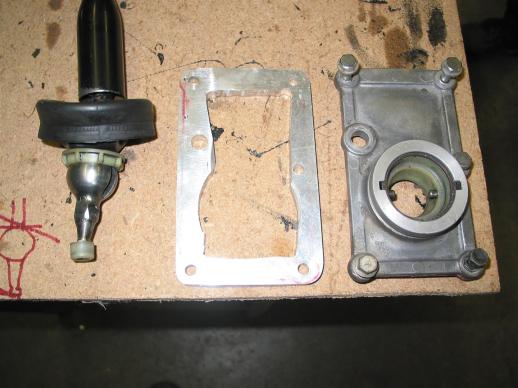
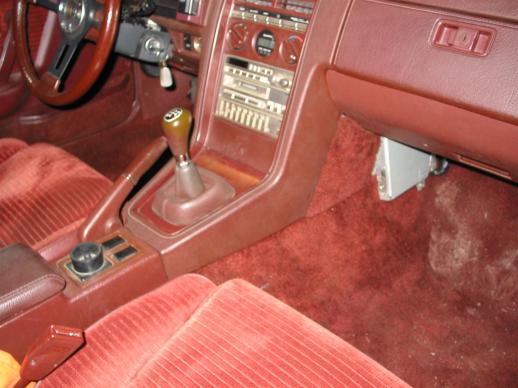
The shifter was stretching the Mazda shift boot too much, so we made a short shifter, which raised the pivot point and reduced the movement. We welded on a short threaded piece with the appropriate threads for the Mazda shift knob.
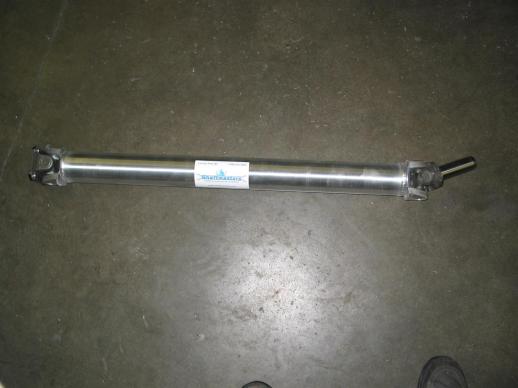
The ECU is mounted below the glove box so the fault codes can be read. The custom aluminum driveshaft was made by Shaftmasters – good product, good service, fair price – highly recommended.
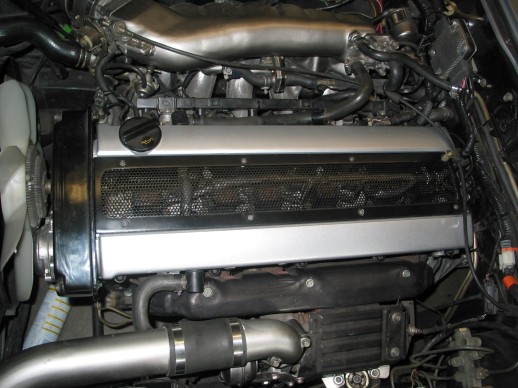
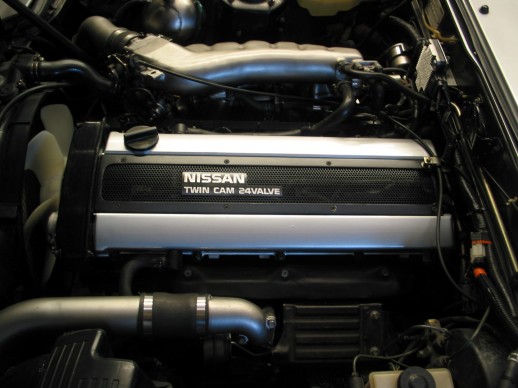
I read on some of the blogs that the coil packs were failing because of the heat trapped under the solid cover. I made an insert of perforated metal, and also moved the PCV fittings from the top of the cam covers. The equalizer tube can be seen under the perforated cover.
You may notice the complete lack of “bling” in my conversion. I think some of these swaps have so many polished parts, red/blue/green/gold/purple anodized fittings, etc that the engine compartment begins to look like an Easter egg. Some people apparently feel they need a big shiny radiator and intercooler and bright colored wiring to make the car go faster! Please note that I have used the Skyline radiator, clutch fan and shroud, radiator hoses, intercooler, heater hoses and stock oil pan for this swap. I just hooked up the Mazda wiring to the Nissan temp sensor and it reads right in the middle of the range when warmed up. The Mazda oil pressure sender screwed right into the Nissan fitting. The Mazda speedo cable was just long enough and screwed into the Skyline trans – reads 1 mph slow at 30 and 3 mph slow at 60. I used a Dakota Digital tachometer adapter which works as advertised.


